Project 3 Formstorming

Weekly Activity Template

Mikhaela 'Kei' Masaba


Project 1


Module 1

Activity 1

I started playing around with the provided code from the template, initially interested in retro arcade games. The project or sketch I played around with the most acted like an extension of project 2 with the features I played around with. While I used the initial color changing square sketch provided and explored the colors at first. Depending on the keys pressed, the color would change or something would change in value. I programmed a circle to move around with the ASWD keys in different directions depending on what was pressed. I was fooling off with the different values in terms of size specifically with the circle, making the circle get bigger the longer it Is idle, only to reset when it's position values change. Glimpse at the code I was using at the time. I prgrammed an endless loop with the rectangles, creating an obstacle course of sorts but hadn't played around with barriers at the time of creation. More coding The different tags I was using for the code in order to group certain lines together. I feel like there is a way to lessen or rather, to clean it in a way that wasn't overwhelming lines to stare at. I asked myself if there was a way to make the code shorter so that it would become easier to explain to people who are considered more so novices. More code. I try to section off my code in order to organize what part of the code does what. One of the features I did for test code was playing around with volume and speed of music or any audio implemented, depending on the keys pressed, it would change the value of the audio, resulting in a changed audio that can become somewhat distorted. More code Another screenshot of me playing aorund with the colors of the shapes, I played around with the Order of the color fill, which resulted in certain shapes being different colors depending on the order. The starting layout of the code. I didn't want to overcomplicate this since it was pretty early on into the project, so I played around with basic elements  only. More code. The functions list kept growing as I kept playing around with different features. More code More code i added a trail to the circle, this actually caused the code to crash several times due to the fact that it kepy growing and multiplying until the screen was filled. Even when it was filled, the code was still active, prompting my computer to struggle until it eventually restarted. Playing around with the movement patterns of the circle. I got the idea to maybe create an interactive maze as my final project. More code Playing around with the circle more, I played around with the different keybinds on the makeymakey, hooking it up to my device and playing around with. More code I looked at other games and explored what else I could do, I played around with internal times that would cause the circle to grow bigger. The first screenshot i did after implementing the audio into the code. Light mode version of the code that I found to be straining on my eyes at the time More code More code More code

Activity 2

I 3D printed fidget toys, referencing videos and models I found online. I wanted to play around with only making 1 3D printed object that would fulfill all the necessary functions for this interactive part of my project. The joystick is fully flexible and able to be tilted in different directions, even pressed downwards, giving me the idea to use that feature as a press down or space button of sorts in the final Fooling around with the graphite paint by painting certain characters from games I enjoy to test the paint itself. All of the painting attempts I had created, drying while I began to create more alternatives. I didn't see myself using them for the final and simply wanted to play around with the resource since it was available to me at the time. Close up on one of the paintings I did, I Made sure to included at least 4 seperated sections so that when hooked up to, the different sections would not interfere with the actual buttons. I did have some skepticism about if they would work once the paint was dry, but I tested it at a later time and it worked out in my favor. I painted layouts similar to controllers I owned, these were quite messy but I wanted to play around with different designs and the different possibilities I could go with. I knew I wanted to go with the arcade game aspect for this project so I played round with that idea more when it came to painting. More joystick layout testing I had. The black bar Purely exists to act as the ground for the makey makey to connect to when it was connected. More experimentation with the layout. I painted different shapes that I thought would be fun for me to play around with. None of these are my final or something I would consider for my final project, I just wanted to test the application of the paint since I saw it as a potential final material for my project at least. Some more designs I had created with the graphite paint. The dots were hit or miss in terms of if it worked or not since they were too close to each other More paint designs i tested the same layout and sketched potential buttons for me to use using graphite pencil. This ultimately is less than effective or consistent than using the graphic paint since it can result in unstable connections or inconsistency. This was helpful in marking or drawinf the ideas I had and implement them at a later date. More pencil sketches of triggers to connect to. I thought of creating a stylus and a touchpad screen to use similar to how my ipad operates. Using the stylus as the ground trigger. I didn't end up going for this option, but did keep it in mind should I want to revisit it again for this project or in the future. More pencil sketches Even upon closer inspection, the graphite pencil didn't feel like it was going to be effective enough in terms of connections unless I pressed super hard on the pencil itself. I was able to mix graphite paint. The effectiveness Of the paint depends on the binder sometimes or the ratios, if mixed incorrectly, it can make the paint ineffective or faulty as a result. Played around with copper tape again, taping over sketch designs I had created to make circuts or connections for my makey makey to latch onto. I sketched a game contorller and then tried to free hand the buttons and triggers below it. One annoyance I hold towards copper tape is the fact that its to flimsy and doesn't peel cleanly. It Is quite easy to crumple or ruin the stickiness of the copper tape, resulting in wasted resources. Trying to tape on the lines was a failed mission since it would result in me having to constantly cut new pieces of tape, which resulted in more resources being consumed and I didn't enjoy how clunky it was or how rigid the layouts were. Tried making a pattern or a pyramid of functions with the copper tape but i didn't like this either. I don't think I would use copper tape heavily this project because I find it restricting compared to the other options that were available. Playing around with how hard I press with the graphite pencil, this is an exercise I did a lot back in art fundamentals to just test pressure levels, similar to how I adjust the levels on my own pencil for my ipad. More tape testing Path testing with the copper tape. I tried to implement the joystick I had 3D printed earlier to act as part of the circut or the copper tape design I was creating. i started doodling pictures and placing coper tape as if it was part of the scene or illustration. More copper tape exploration.

Project 1


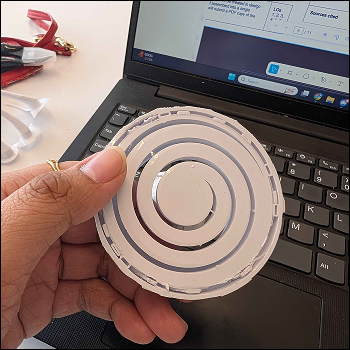
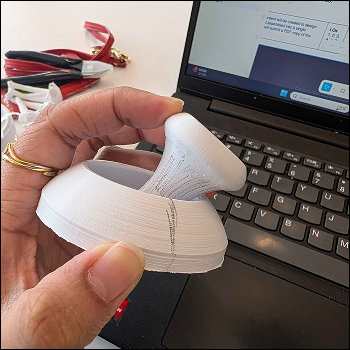
Final Project 3 Design

Physical Published Model

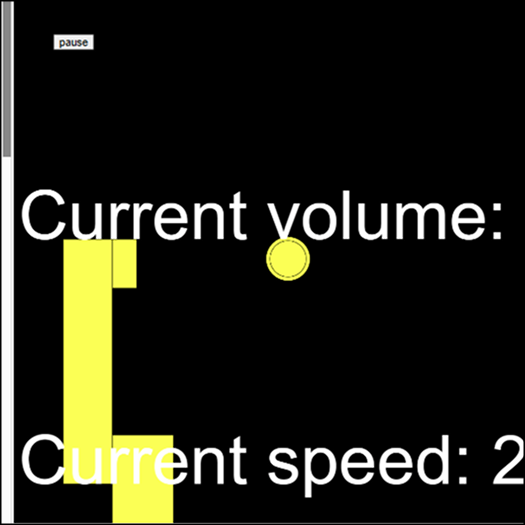
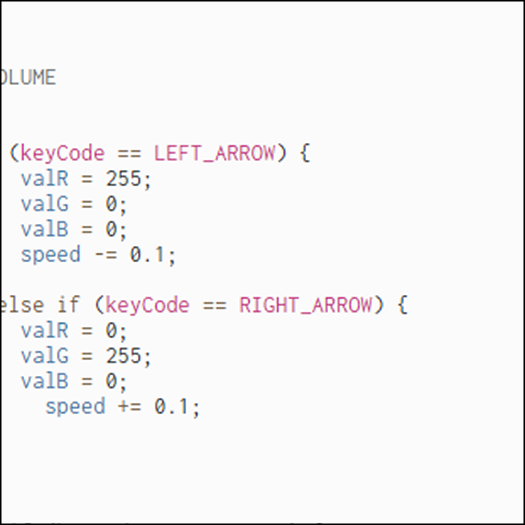
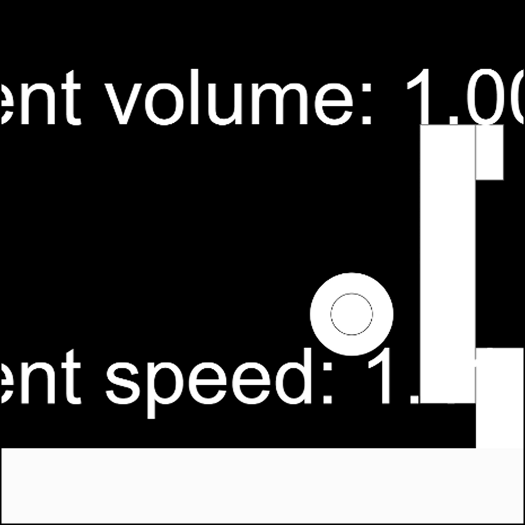
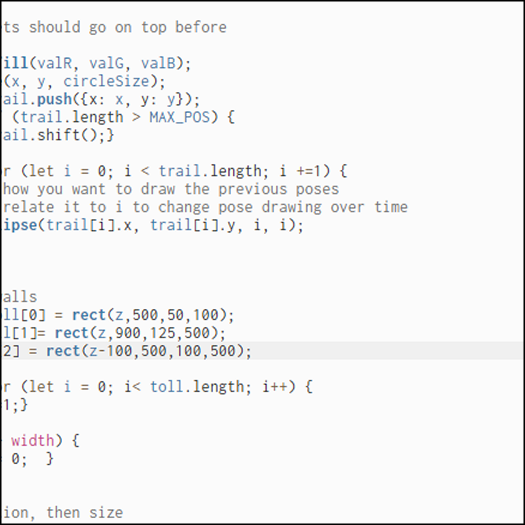
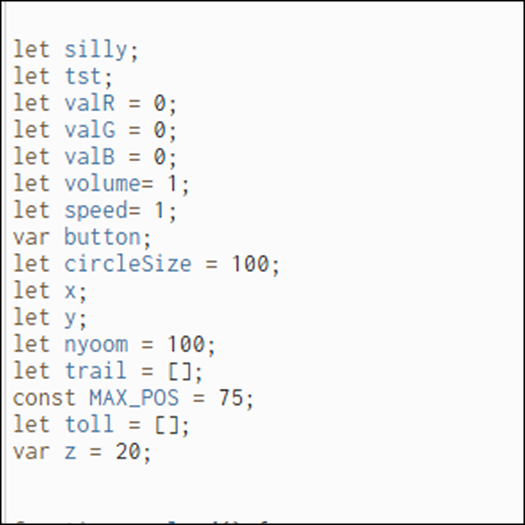
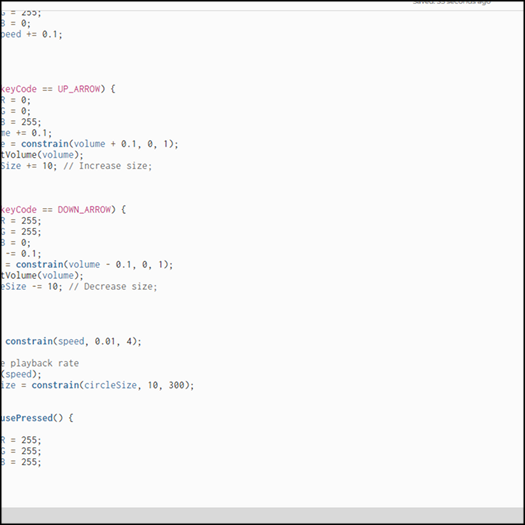
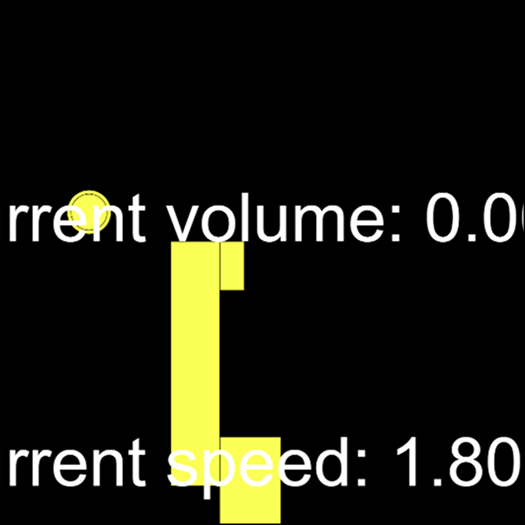
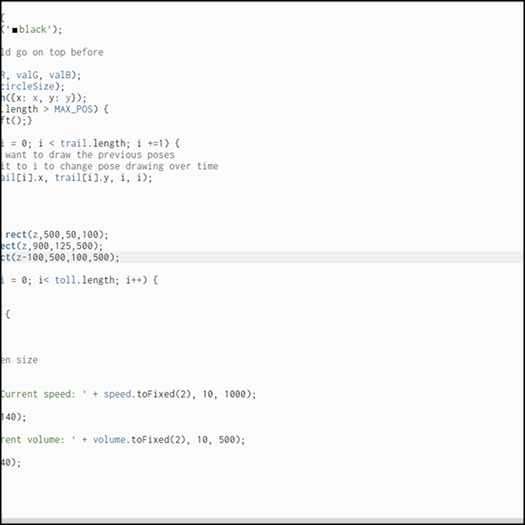
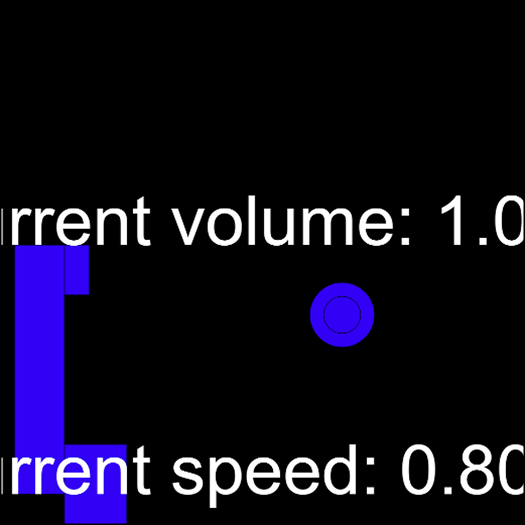
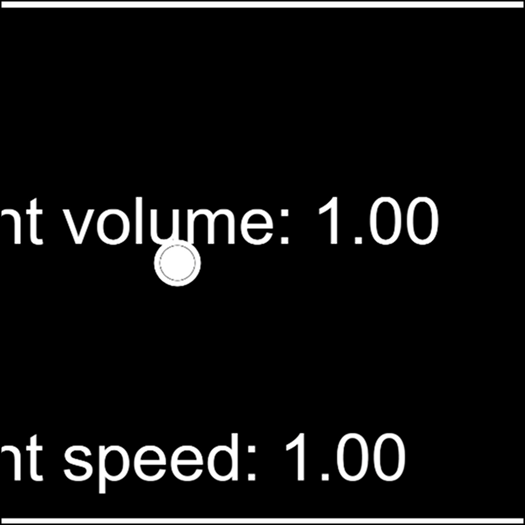
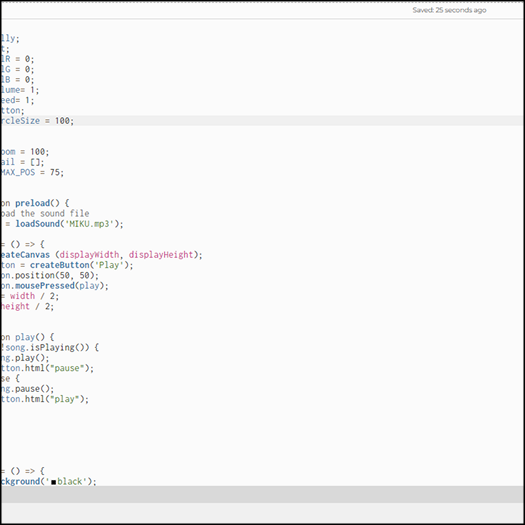
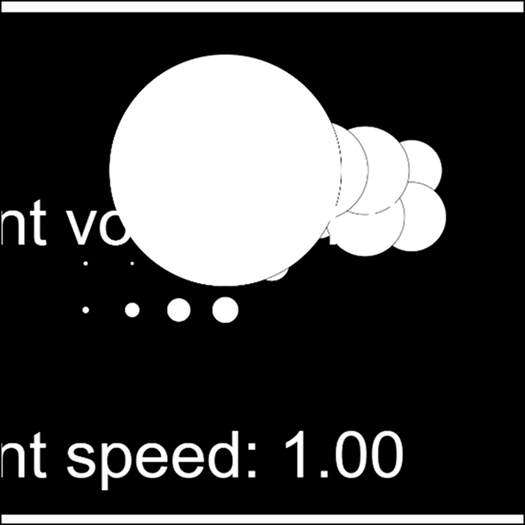
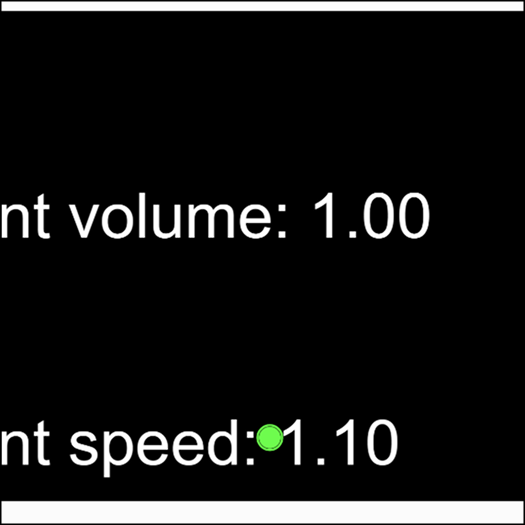
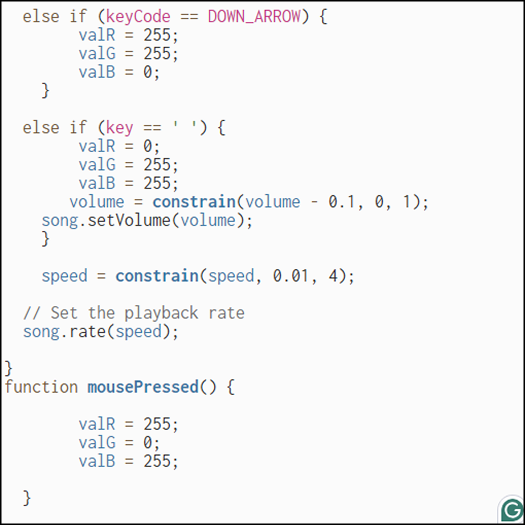
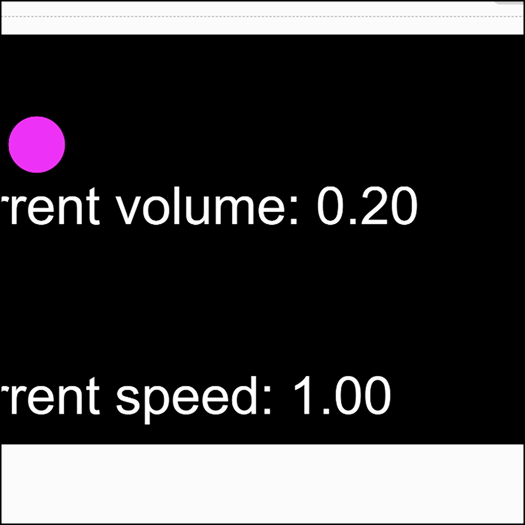
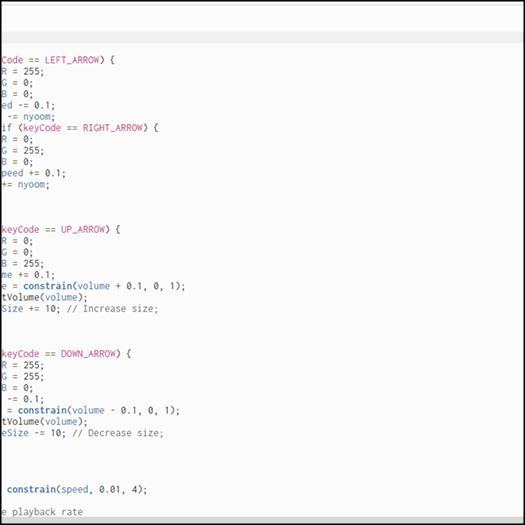
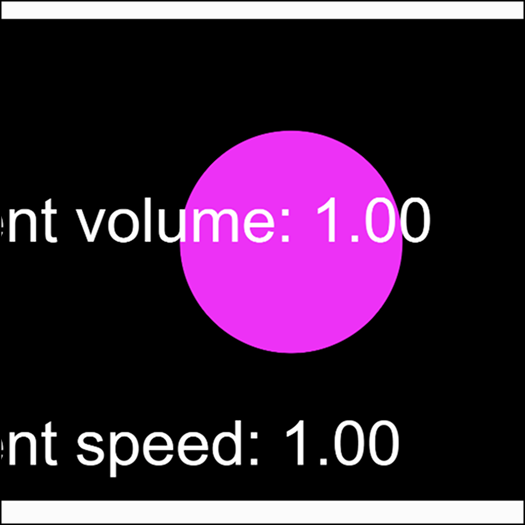
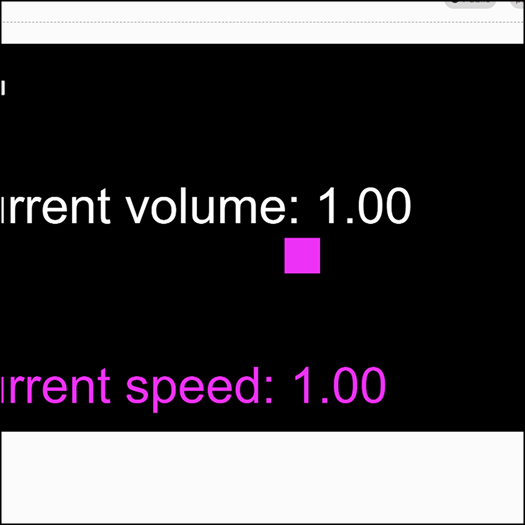
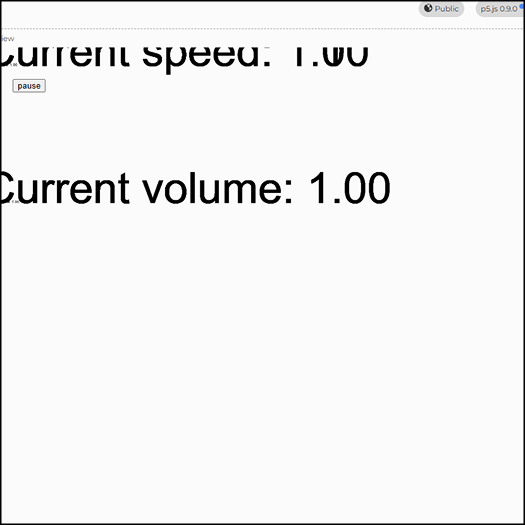
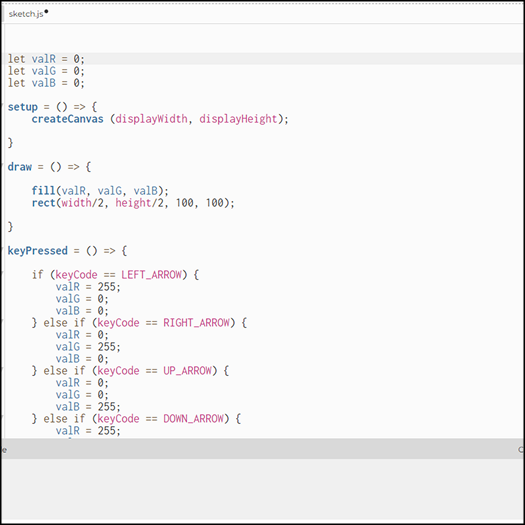
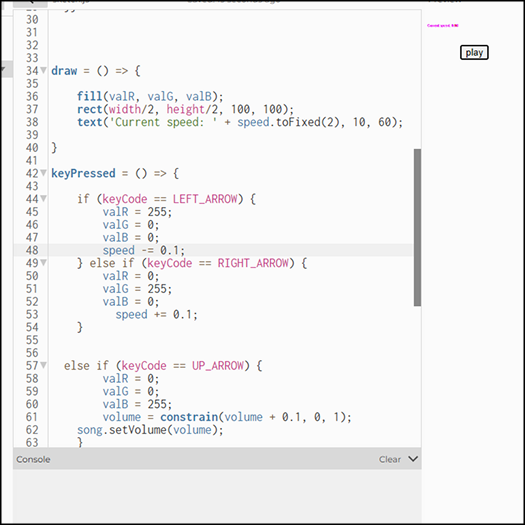
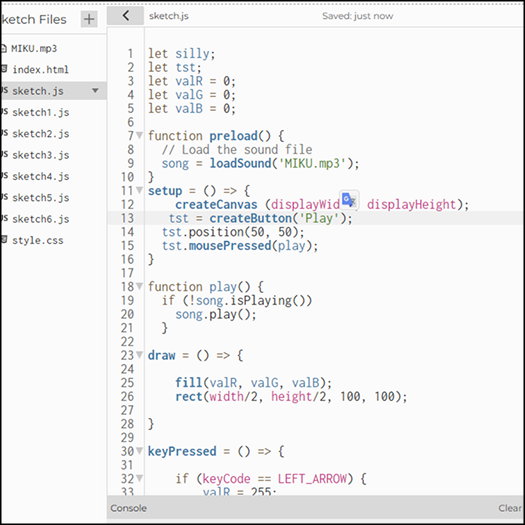
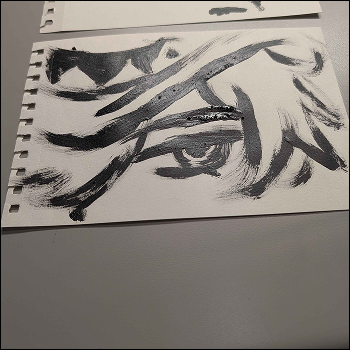
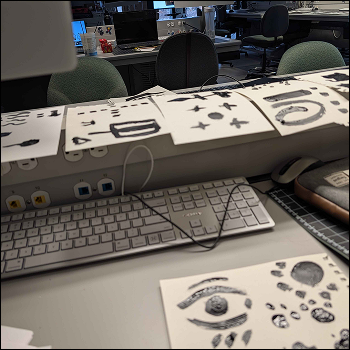
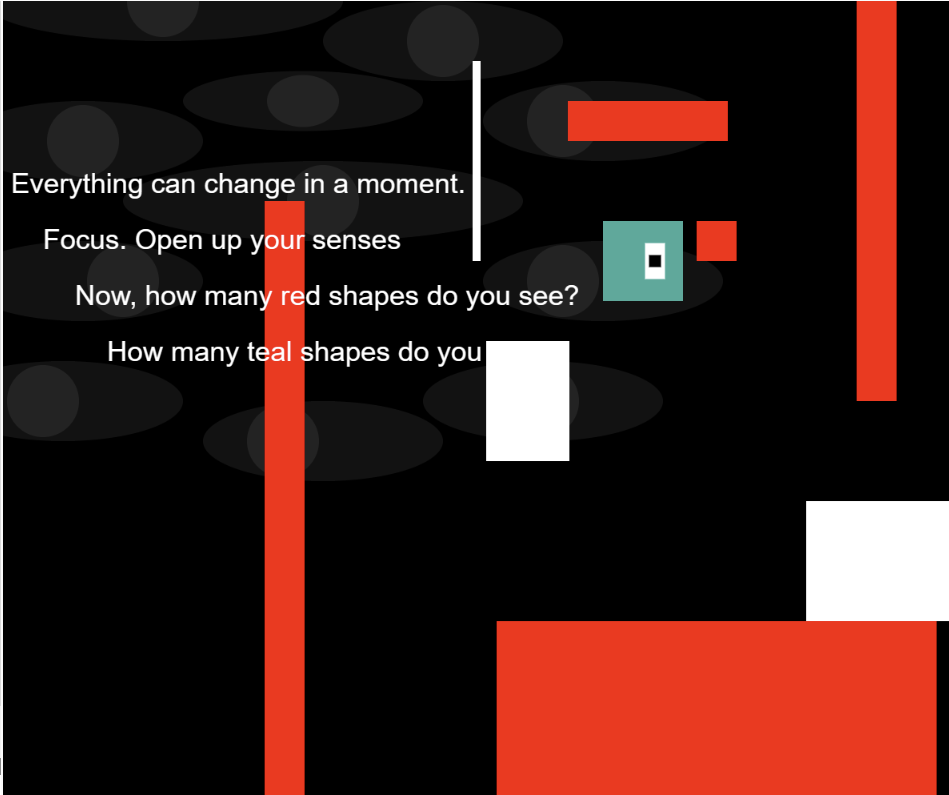
The final project is a webpage that is interactive with the user's keyboard. I aimed to make the overall atmosphere unsettling and make it feel like the user is being watched.

TBA
×

Poweteal by w3.css